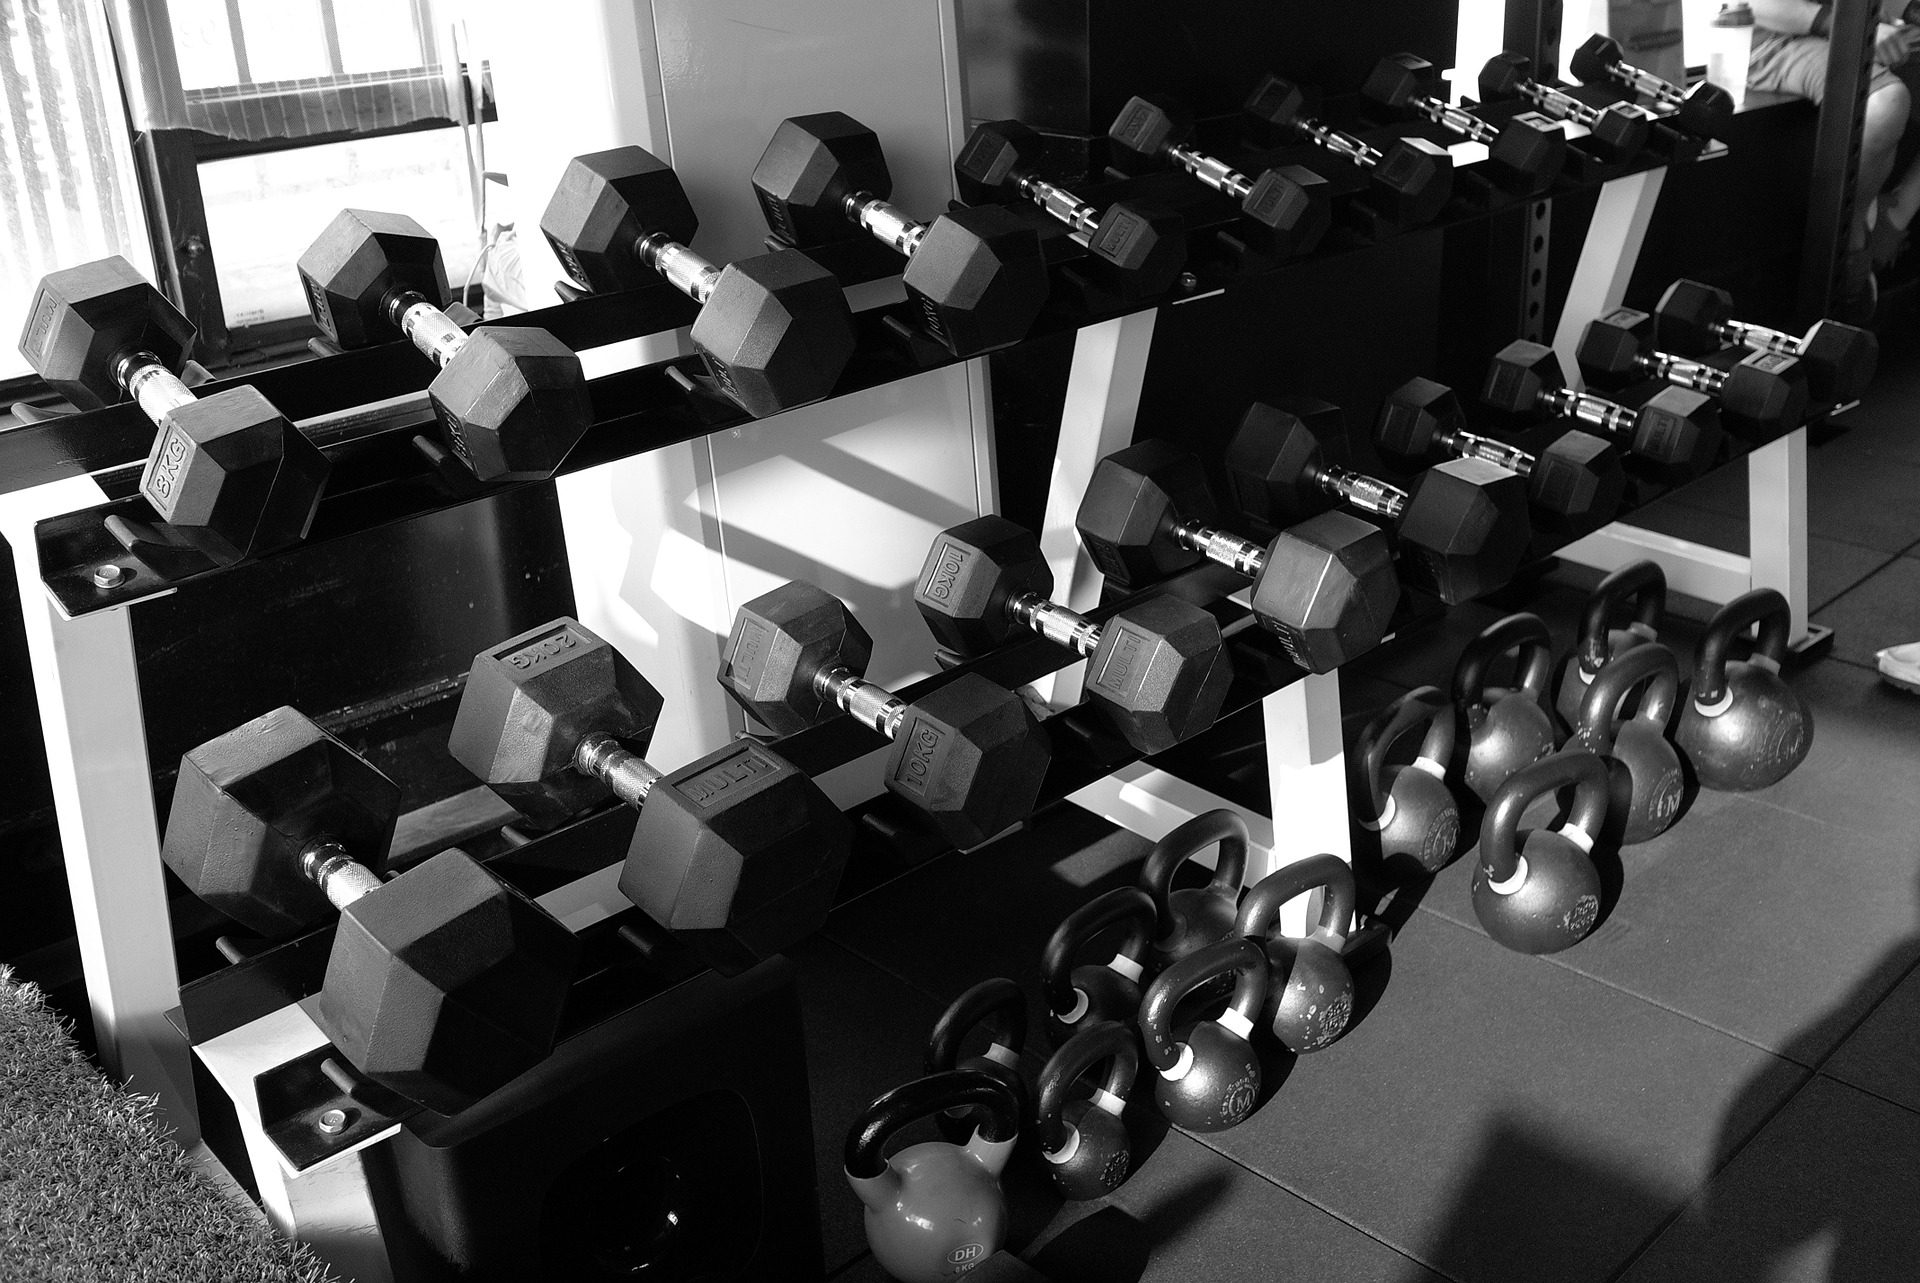
If you’re looking for an easy and affordable way to organize your dumbbells, you may want to consider building a DIY dumbbell rack.
Sure, buying one is still an option, but if you find fun in making your own stuff, you may need to dodge the ready-made version for your home-tailored version. Plus, building it yourself means you can customize it to fit your needs.
And yes, In this article, we’ll show you how to build a DIY dumbbell rack in just a few steps.
Contents
How To Make A DIY Dumbbell Rack
Before we proceed, it’s worth pointing out that there isn’t one particular way to build a DIY dumbbell rack. There are many different ways to do it, and the rack you make will largely depend on the materials you have at your disposal and even most importantly, your favorite design.
But for the sake of the newbies in woodworking, we will settle for the simplest designs and show you how to DIY it the easiest way.
Here’s What We Need For The Rack
– Lumber
– Miter saw
– Drill
– Square
– Level
– Tape measure
– Sandpaper (120 grit)
Now that you have all the materials, let’s start building.

Assembling A Wood Dumbbell Rack
Step 1:
Determine the length of each bed rail frame by measuring it. If they stretch beyond 20 inches (50 cm), consider using a metal saw to trim them down. Sandpaper can smooth any coarse edges if you are worried about injury.
Step 2:
Double-check that the measuring tape indicates the same length for all the bed frame rails. They will serve as the shells for dumbbells, which makes them particularly important. Know that rack caving and balance loss can occur if racks become unevenly long.
Step 3:
The lengths of the planks should be equal. This may be verified using a measuring tape. You can then place the bed frame rails between them after you ensure that the planks are the same length.
Step 4:
Mark two holes on each plank of wood. The holes should be vertical. You should also ensure that they come 2 feet (60 cm) apart from one another.
Step 5:
Place one extra mark 6 inches (18 cm) from each hole. These marks will show the position of bed frame rails. Make sure they are identical on both planks and that they line up properly.
Step 6:
You may now secure the bed frame railings and planks to the bed frame. You will need to use the markings that we used in step 4. You’ll find a corded drill come in handy here.
What DIY Dumbbell Rack Layout Should You Use?
When making your own rack, one of the key decisions you have to make is the rack layout. This is the design of your rack and will largely determine how many dumbbells it can hold.
There are several basic types of layouts here:
Wall-Mounted Layout
This works best for those running short on floor space. The rack is attached to the wall and takes up little to no room.
Tree-like DIY Dumbbell Rack
This rack is good for larger collections as it allows more weight to be stored on each arm. The design looks visually appealing, but it may require an experienced arm to build it.
4-Tier DIY Dumbbell Rack
This rack is perfect for those with a lot of weight. It’s also space-saving and can be made relatively easily.
Dumbbell Table Rack
This rack is perfect for storing your things and can serve as an extra table with any food or drinks you want to put on it. It’s strong enough that even when full, the weight won’t break down its structure!
Frequently Asked Questions (FAQS)
Q: What Are The Standard Dimensions Of A Dumbbell Rack?
A: There is no standard dimension as each rack can be customized to fit the needs of the user. However, most racks are around 4×4 feet with 2-4 tiers.
Q: How Much Weight Can A Dumbbell Rack Hold?
A: Again, this depends on the material of the rack and the design. It would be unfair to expect wooden racks to hold as much weight as metal ones. But again, that doesn’t mean wooden racks can’t suffice. They can, but you’ll need to be careful with the wood you choose for the project.
Q: What Type Of Wood Should I Use?
A: Most users recommend using oak, maple, or birch for their racks as they are strong woods that can hold a lot of weight. Be careful with pine or fir as they may not be able to handle the load.
Q: What’s The Best Way To Finish My Rack?
A: You can use any finish you like on your rack. However, a sealant or varnish is often recommended to protect the wood from moisture and other environmental factors.
Q: How Heavy Are Dumbbells?
A: This also depends on the weight and type of dumbbell. But generally, they weigh around 0.5-50 pounds (0.23-22.7 kg).
Essential Tips When Building Your Rack
- Double-check measurements and use a level to make sure your rack is perfectly straight.
- Make sure all drill holes are evenly spaced for even weight distribution.
- Use clamps or weights to keep the rack together while the glue dries, if needed.
- Let the rack cure for 48 hours before loading any weights onto it.
- Inspect the rack periodically for loose screws, bolts, or other hardware. Tighten as needed.
- Be sure to use caution when loading and unloading weights onto your rack, as this can be dangerous if done incorrectly.
Benefits Of Making Your Own Rack
Other than giving you the satisfaction that comes with DIY home projects, there are lots of perks that come when you make a dumbbell rack for yourself.
- You can customize it to fit your needs. This includes the weight of the dumbbells you have, the available space, your design, and more.
- You’ll save money. Racks can be expensive, but by making your own you’ll save a significant amount of money.
- It’s easy to do. If you’re handy with a drill, this project is relatively simple and can be completed in a few hours.
- It’s safe. When done correctly, homemade racks can be just as safe as commercial ones.
- It’s sturdy. Contrary to popular belief, a DIY dumbbell rack can be strong and durable when built with the right type of materials.
- You can show it off. Not only will you have a functional piece of equipment, but you’ll also have a decorative one that looks great in your home gym.
Final Word
When it comes to home workouts, having a DIY dumbbell rack is a must. Not only does it save space, but it also allows you to store your weights in a safe and organized manner. And if you’re handy with a drill, it’s an easy project that can be completed in a few hours.


