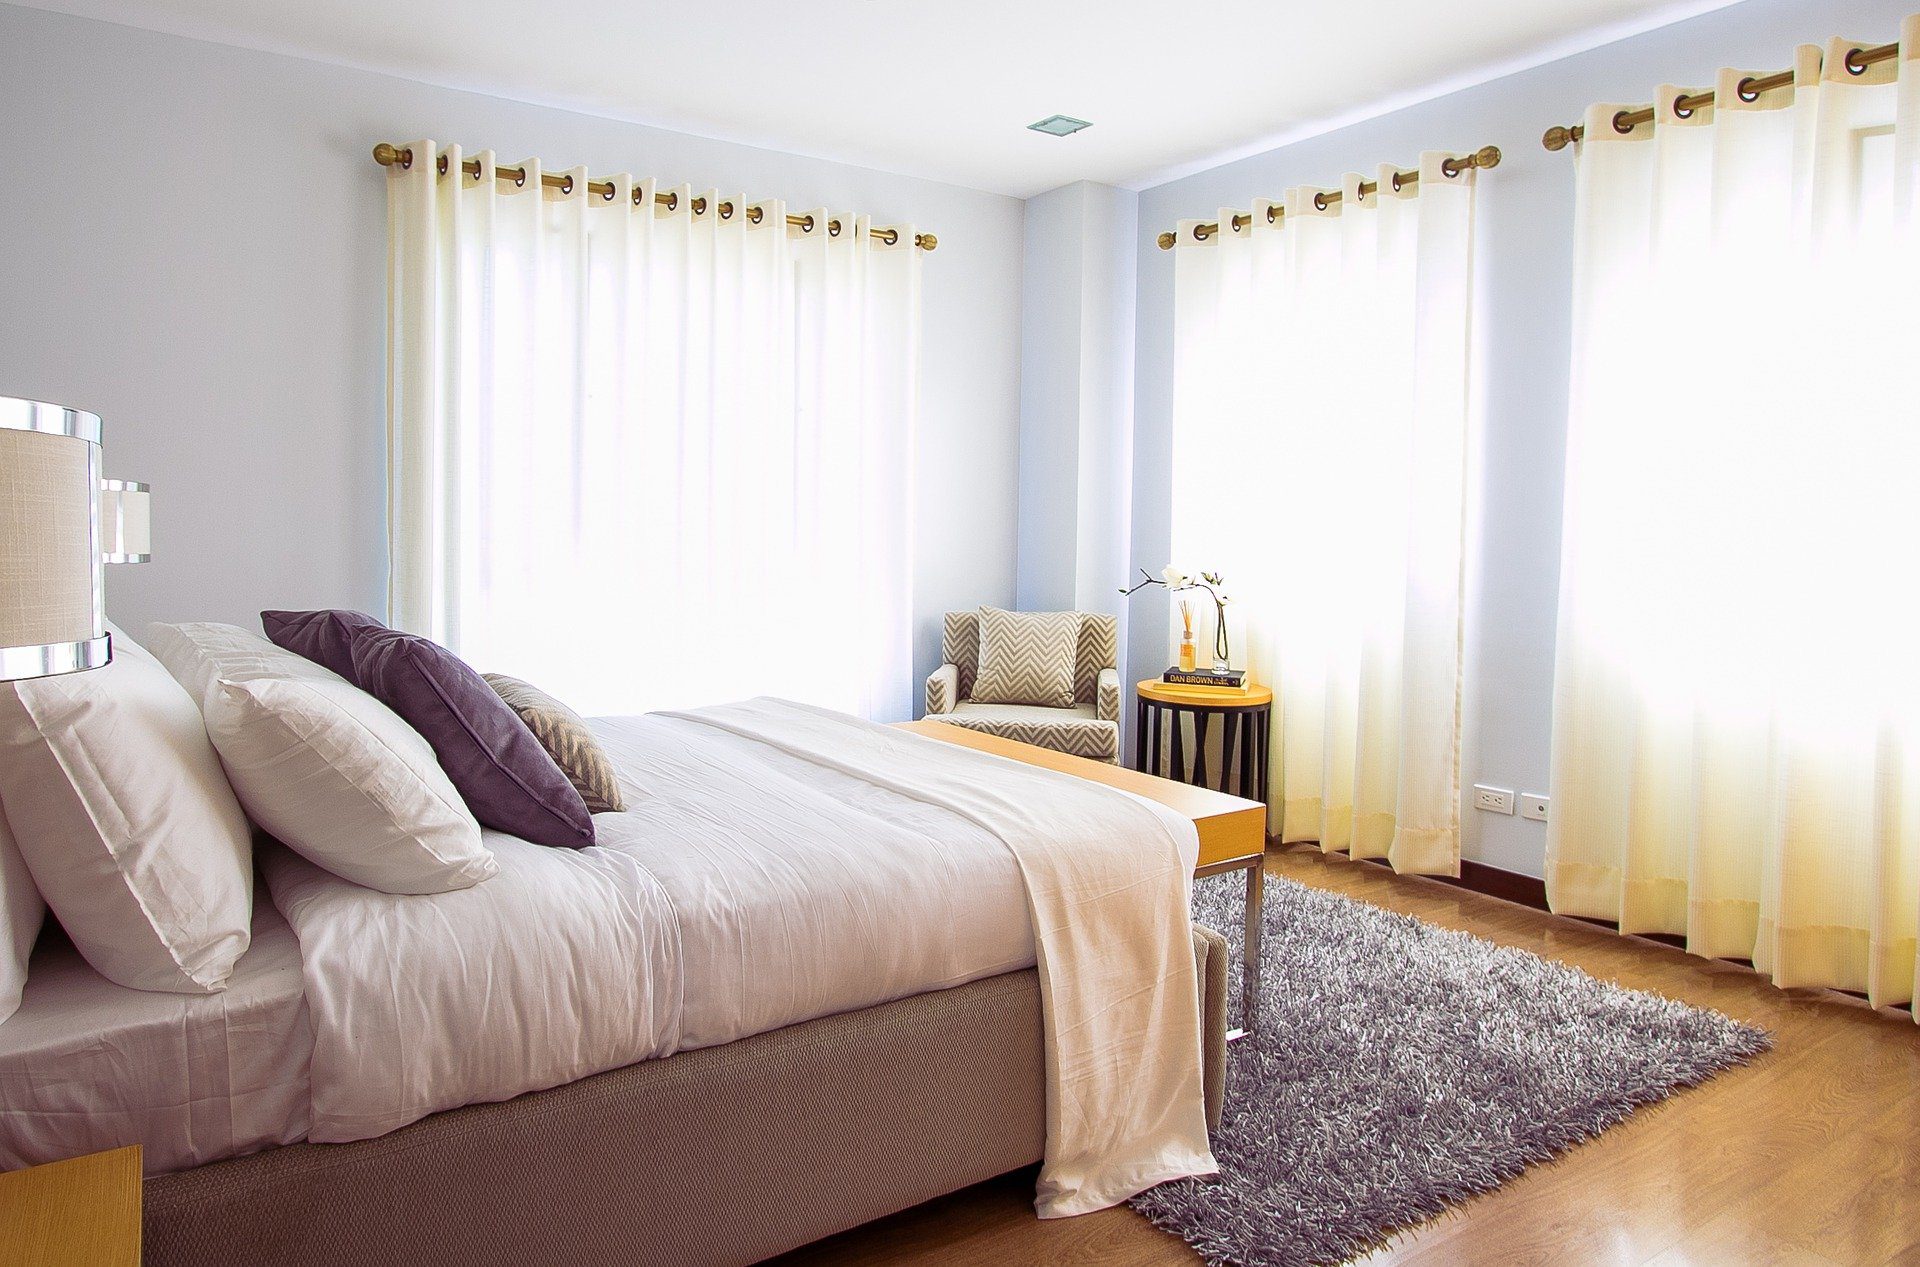
When it comes to beds, there are a variety of different types to choose from. One option that is becoming more popular is the floating bed frame DIY option. This type of bed frame is unique in that it doesn’t have any legs, thus giving the illusion that the bed is floating in mid-air.
There are a few different ways that you can go about creating a floating bed frame. One option is to purchase a kit, which will provide you with all of the materials and instructions that you need. Alternatively, if you’re feeling adventurous, you can try to make your own floating bed frame from scratch.
Contents
- 1 Floating Bed Frame DIY – Why Should You Have It?
- 2 Floating Bed Frame DIY – How To Make One From Scratch
- 2.1 Step 1: Gather Your Supplies
- 2.2 Step 2: Cut The Boards
- 2.3 Step 3: Cut The Plywood
- 2.4 Step 4: Assemble The Bottom Frame
- 2.5 Step 5: Work On Base Frame Blocking
- 2.6 Step 6: Assemble The Top Frame
- 2.7 Step 7: Bring In The Top Frame Blocking
- 2.8 Step 8: Link The Top Frame To The Lower
- 2.9 Step 9: Install LEDs
- 2.10 Step 10: Attach The Plywood
- 2.11 Step 10: Finishing Touches
- 3 Floating Bed Frame DIY – Final Word
Floating Bed Frame DIY – Why Should You Have It?

You don’t just build floating bed frame to give the impression that it’s floating in the air. There are several other benefits you get from it.
Increased Storage Space
A floating bed frame creates a lot of extra storage space underneath the bed. This is perfect for storing blankets, pillows, shoes, or any other items that you don’t want taking up space in your bedroom.
Increased Airflow
A floating bed frame allows for increased airflow around the bed. This is especially beneficial during the summer months when it can be hot and stuffy in your bedroom. The increased airflow will help to keep you cool and comfortable while you sleep.
Adds A Unique Touch
A floating bed frame is a great way to add a unique touch to your bedroom. It’s sure to turn heads and get people talking.
If you’re looking for an interesting and unique way to update your bedroom, a floating bed frame is the perfect option. With a little bit of work, you can create a one-of-a-kind piece that will add style and functionality to your home.
No More Hitting Your Toe Against The Bed Frame!
Seriously, this is a major plus. When you have a traditional bed frame with legs, you run the risk of tripping over them in the middle of the night. With a floating bed frame, you don’t have to worry about that. Your toes will thank you.
Now that you know how having a floating bed frame will benefit you, let’s look at how you can come up with one right from the scratch.
Low Cost
Floating bed frames can be made relatively cheaply, especially if you choose to make them yourself. This is a great option for those who are on a tight budget.
Custom Design
The great thing about floating bed frames is that they can be customized to fit any bedroom size and style. You can choose to make your frame out of a variety of different materials, such as wood, metal, or plastic.
You can also choose the color and design that you want. Adding some LED lights can really enhance the look of your frame. In other words, with a little bit of creativity, you can create a floating bed frame that is truly unique and one-of-a-kind.
Floating Bed Frame DIY – How To Make One From Scratch
Now that you know all of the benefits of having a floating bed frame, it’s time to learn how to make one yourself.
Step 1: Gather Your Supplies
When making a floating bed frame, you’ll need a few basic supplies. These supplies include:
– 2 x 6 lumber
– 2 x 4 lumber
– wood glue
– drill
– saw
– wood screws
– 3/4-inch plywood
– level
– clamp
– measuring tape
– led lights (optional)
– safety glasses
Step 2: Cut The Boards
Once you have gathered your supplies, it’s time to start cutting the boards. You will need to cut boards into the following sizes:
For the bottom frame;
– 6 x 2x6s – 11″ long
– 2 x 2×6 boards – 48″ long
– 3x 2×6 boards- 56-1/2″ long
– 10 x 2×4 boards – 11″ long
For the top frame;
– 2 x 2×6 boards – 60″ long
– 3 x 2×6 boards – 78″ long
Step 3: Cut The Plywood
In order to create the floating effect, you will need to cut a piece of plywood to fit the size of your bed. This plywood should be 3/4-inch thick. The dimensions should be 40 1/2 x 60″, but that will obviously vary depending on the size of bed you want to make.
Step 4: Assemble The Bottom Frame
To assemble the bottom frame, begin with the 48-inch boards. Pick one, and using a tape measure, measure 23-1/2 inches from one end and make a straight line perpendicularly on the face of the board.
Then, pick another board of similar length, align it with the one you just marked and transfer the mark to the second. These marks simply indicate where to position the center support board.
Pick a 56-1/2-inch board and secure it to the outside of one of the marked 48-inch board . Ensure that you rest the edge of the longer board on the face of the one measuring 48 inches. Then, drive self-tapping wood screws into the longer board through the back of the 48-inch board.
Step 5: Work On Base Frame Blocking
Measure the 48-inch board and make marks on the longer 56-1/2-inch board fastened to it. The marks need to come at intervals of 13-1/4-inches beginning from where the 48-inch board begins. Then, repeat this process for the opposite side of the frame.
Pick one of the 22-1/2-inch blocks/boards and place one edge flush to the mark you just made on the 56-1/2-inch board. Then, drive self-tapping screws penetrating from the back of the 56-1/2 board into the end of the 22-1/2-inch blocks. Repeat that at the other end of the blocks using the corresponding mark on the longer board.
Step 6: Assemble The Top Frame
Next, it’s time to assemble the top frame. Pick a 60-inch board, measure 29-2/5 inches from the end of the board and transfer the mark to the other board. Secure the 78-inch board onto the 60-inch board, with the edge of the longer board resting on the face of the shorter 60-inch board.
Then, drive self-tapping wood screws right from the 60-inch board into the edge of the 78-inch board and repeat the process at the other end.
Step 7: Bring In The Top Frame Blocking
Measure 13-1/4 inches from the edge of the 60-inch board and mark on the fastened 78-inch board. Do the same for the other side.
Then, pick one of the 28-1/2 inch boards and install them at the inside of the marked areas, with the screws running from the face of the 78-inch board into the edge of these boards – now the blocks!
Step 8: Link The Top Frame To The Lower
You’ll need someone to help you here. With the helper, place the vertical frame to the lower. Ensure that the blocks and the center support systems of the two frames align.
Step 9: Install LEDs
This step will only come if you want to add some extra flair to your bed. If you have purchased LED lights, install them now by following the manufacturer’s instructions.
Step 10: Attach The Plywood
Now it’s time to install the plywood. Position it so that it is flush with the top frame you just assembled. Use wood screws to fasten it in place. You may need someone to help you hold the plywood in place while you screw it down. You can as well use a clamp, but remain gentle so that you don’t warp the plywood.
Step 10: Finishing Touches
Now, all you need to do is add the finishing touches by adding the bedding and mattress of your preference. You’re done! Enjoy your brand new floating bed frame! Now that your bed frame is complete, it’s time to add the mattress. Place the mattress on top of the frame and enjoy your new floating bed!
Floating Bed Frame DIY – Final Word
As you can see, making a floating bed requires some patience and a bit of basic carpentry skills, but it’s definitely doable. With a few simple tools and supplies, you can make your very own bed frame that will add a touch of luxury to any bedroom.


